A good fit when
- Many capital letters are already recognizable
- The learner is noticing lowercase in books
- Baseline, ascender, and descender placement need practice
- Simple word writing is the next longer-term goal
Start with lowercase a–z, or focus on one letter or a custom set. Adjust the writing size, repetitions, guides, and practice mode before printing.
Use it when capital letters are familiar enough and the learner is ready for the smaller forms seen throughout books and words.
Lowercase practice is about both shape and position, so use the guidelines to compare short, tall, and descending forms.
Look at whether the lowercase form stays in the middle zone, rises above it, or drops below the baseline.
Follow the light form while keeping its body, ascender, or descender in the correct part of the line.
Use trace-and-write with a few selected letters before placing them inside simple words.
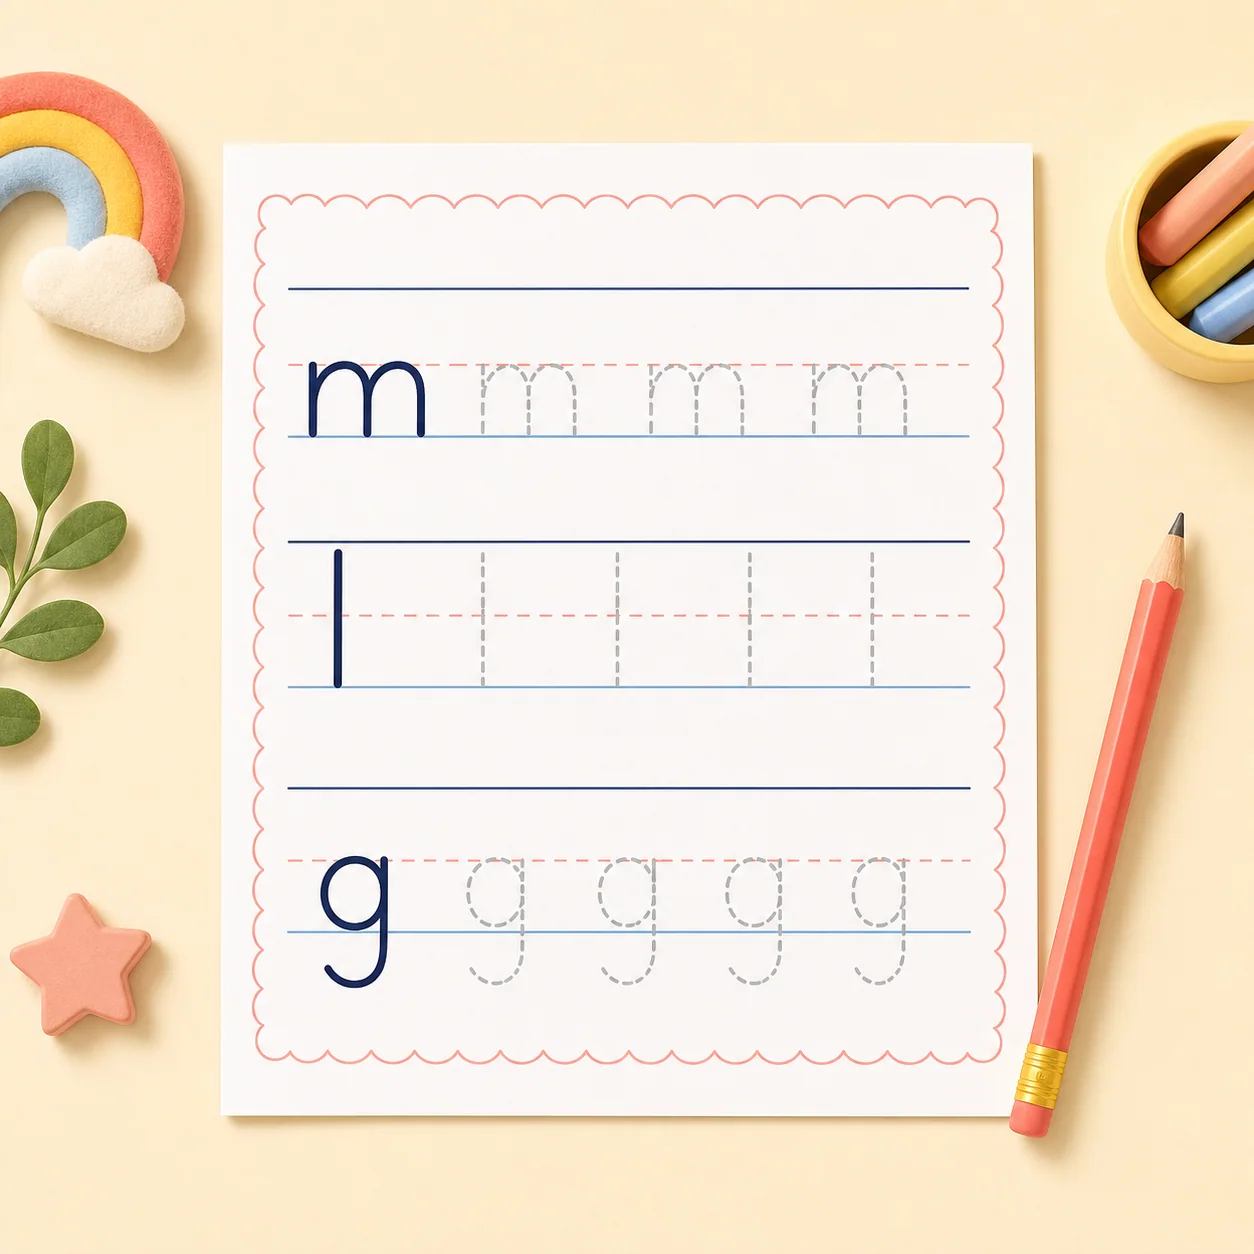
Choose a single letter, custom set, or the full lowercase alphabet.
Top, middle, and baseline guides make vertical placement visible.
Repeat each selected lowercase form according to the current session.
Practice mode controls how much blank writing follows the model.
Writing size, rows, orientation, and paper size remain configurable.
The forms seen most often inside words become easier to distinguish.
Short letter bodies can be aligned to the middle writing zone.
Tall and dropping letters are compared against the guide lines.
Small selected groups support more deliberate spacing before word practice.
Independent lowercase formation creates a bridge toward simple word writing.
Guidelines give a concrete reference for short, tall, and descending letters.
Practicing selected forms together helps reveal differences such as b, d, p, and q.
Trace-and-write introduces independent lowercase before several letters are combined in a word.
Keep the scope small enough that the learner can notice both the shape and its position on the line.
Use a custom set with only the confusing forms instead of the full alphabet.
Keep guidelines on and increase writing size so line placement is easier to inspect.
Reduce repeats per letter or lower the row count before shrinking the text.
Choose trace-and-write and keep only a small target set for independent formation.
Advance when lowercase shapes stay in the correct vertical zones and remain recognizable without a full tracing model.
Trace contrasting lowercase letters at a large or medium size.
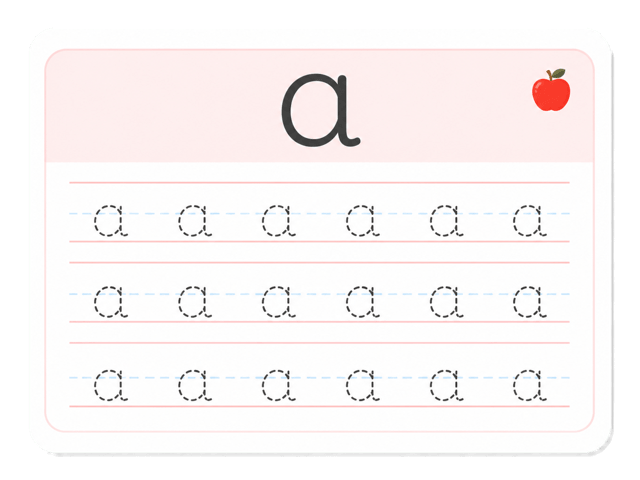
Add more letters while using trace-and-write to check independent placement.
Move into short word tracing when formation and spacing stay readable.
Review capital forms, connect the two cases, or use lowercase letters inside a short word task.
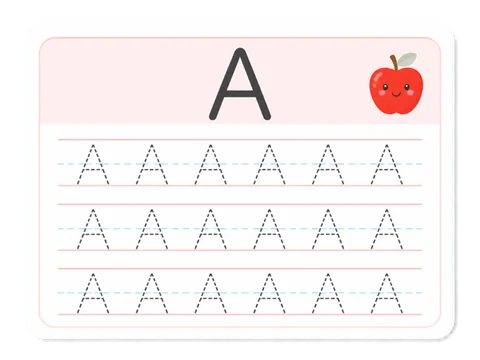
Uppercase foundation
Trace uppercase A–Z or focus on one letter or a custom letter set.
Open template arrow_forward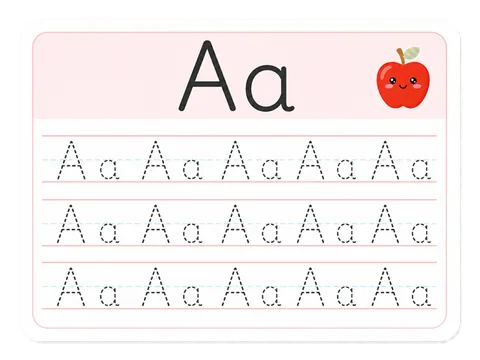
Case matching
Compare uppercase and lowercase forms side by side in one tracing worksheet.
Open template arrow_forward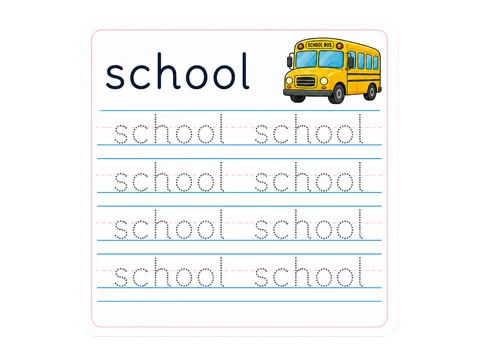
Phonics-friendly words
Trace short English words such as cat, dog, and sun with an editable word list.
Open template arrow_forward